When I shoot, my goal is to get everything as perfect as I can in-camera, so I have an easier job post processing.
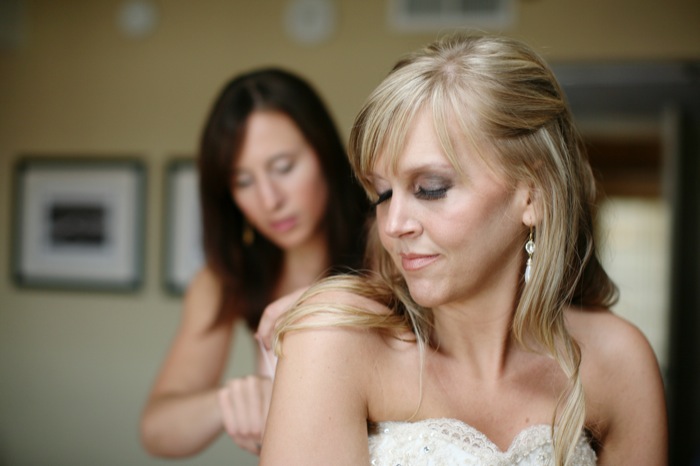
Using an image from my last blog post as an example, here is the image straight out of the camera (meaning absolutely no color correcting or touch up work has been done). This isn't bad, but it's not up to my standard for my blog or a wedding album.

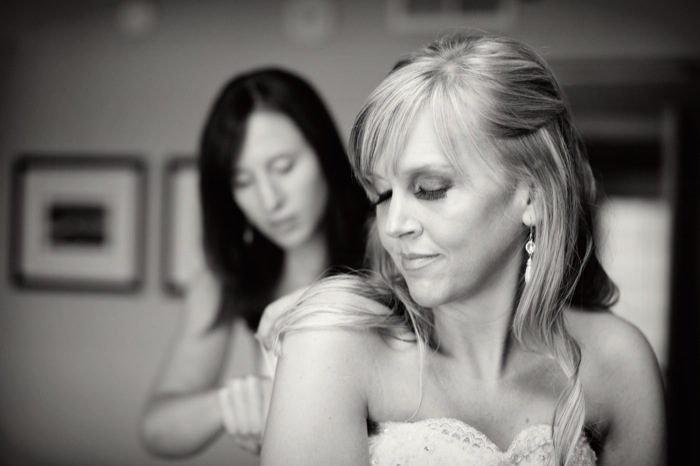
I always love the way getting ready images look in black and white. There is just something so classic and timeless about them. So, my next step was to convert this image to a black and white. I also warmed it up 9% and added slight vingetting. We're getting there.

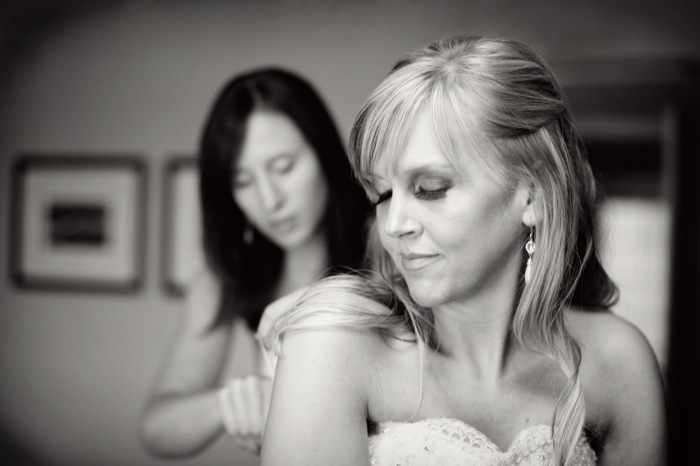
Notice those distracting air vents and smoke detectors in the above photo? I wouldn't put anything like that in a wedding album or my blog, so I used the clone tool in Photoshop to get rid of the distractions. While I was at it, I took care of a few stray hairs. Much better, huh?

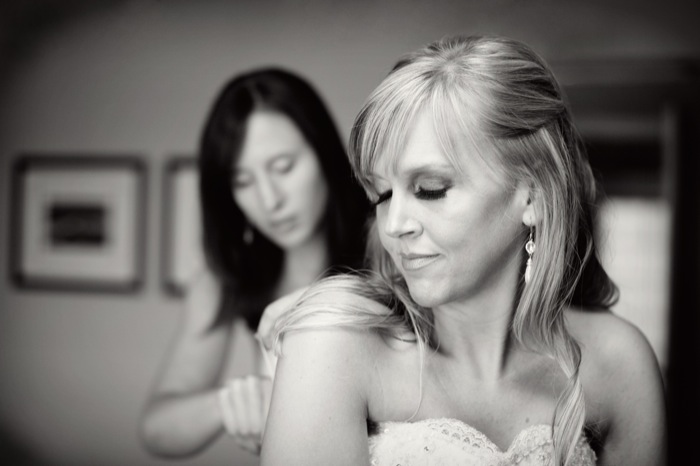
I wasn't 100% happy with the way the light hit her left eyelashes, so I burned them a smidge darker. Now this image is ready for the blog!

I hope you enjoyed my little tutorial!
I love this! It's really neat to know how you work through your images. Thanks for sharing!
ReplyDelete